Silversmithing for Beginners: 5 Techniques to Get Started
You may have seen a friend's Facebook post of their latest piece of jewelry and thought to yourself, "You know what? I could make that!" You're not alone. Some people are naturally inclined to make things with their hands and want to take up a hobby. This blog post is for those who want to learn how! For beginners, you should start by learning about the tools needed for this trade, and the basics of how to use them to create something simple. I will also go over some materials you will find online and give some tips on where you can locate helpful tutorials online. In no time, you'll be making jewelry just like the ones on Etsy!
There are five essential pieces of silversmithing for beginners: Designing, sawing, filing, soldering, and finishing.
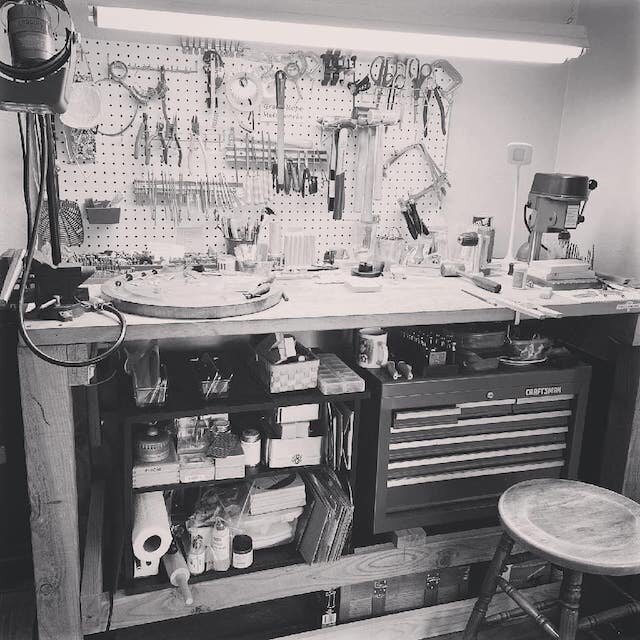
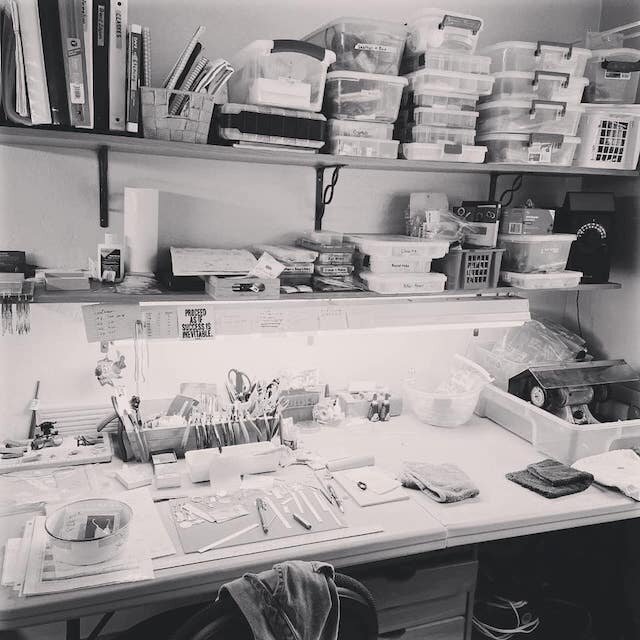
Getting Started: Materials you need
· A saw, saw blades, and wax.
· Design materials like pencils, paper, and a glue stick
· A sheet of either copper, brass, or silver (20 gauge).
· A metal file
· A pickle pot
· Flux: this protects the silver and helps the solder flow
· A torch
· Clean water
· Solder
· Copper tongs
· Clean rag
· Solder board
· Soldering pick
· A flex shaft and polishing wheels
This sounds like a lot of materials, but there are several silversmithing for beginners available online from Rio Grande here.
As well as silversmithing for beginners soldering kits available through Etsy here.
Designing Your Project
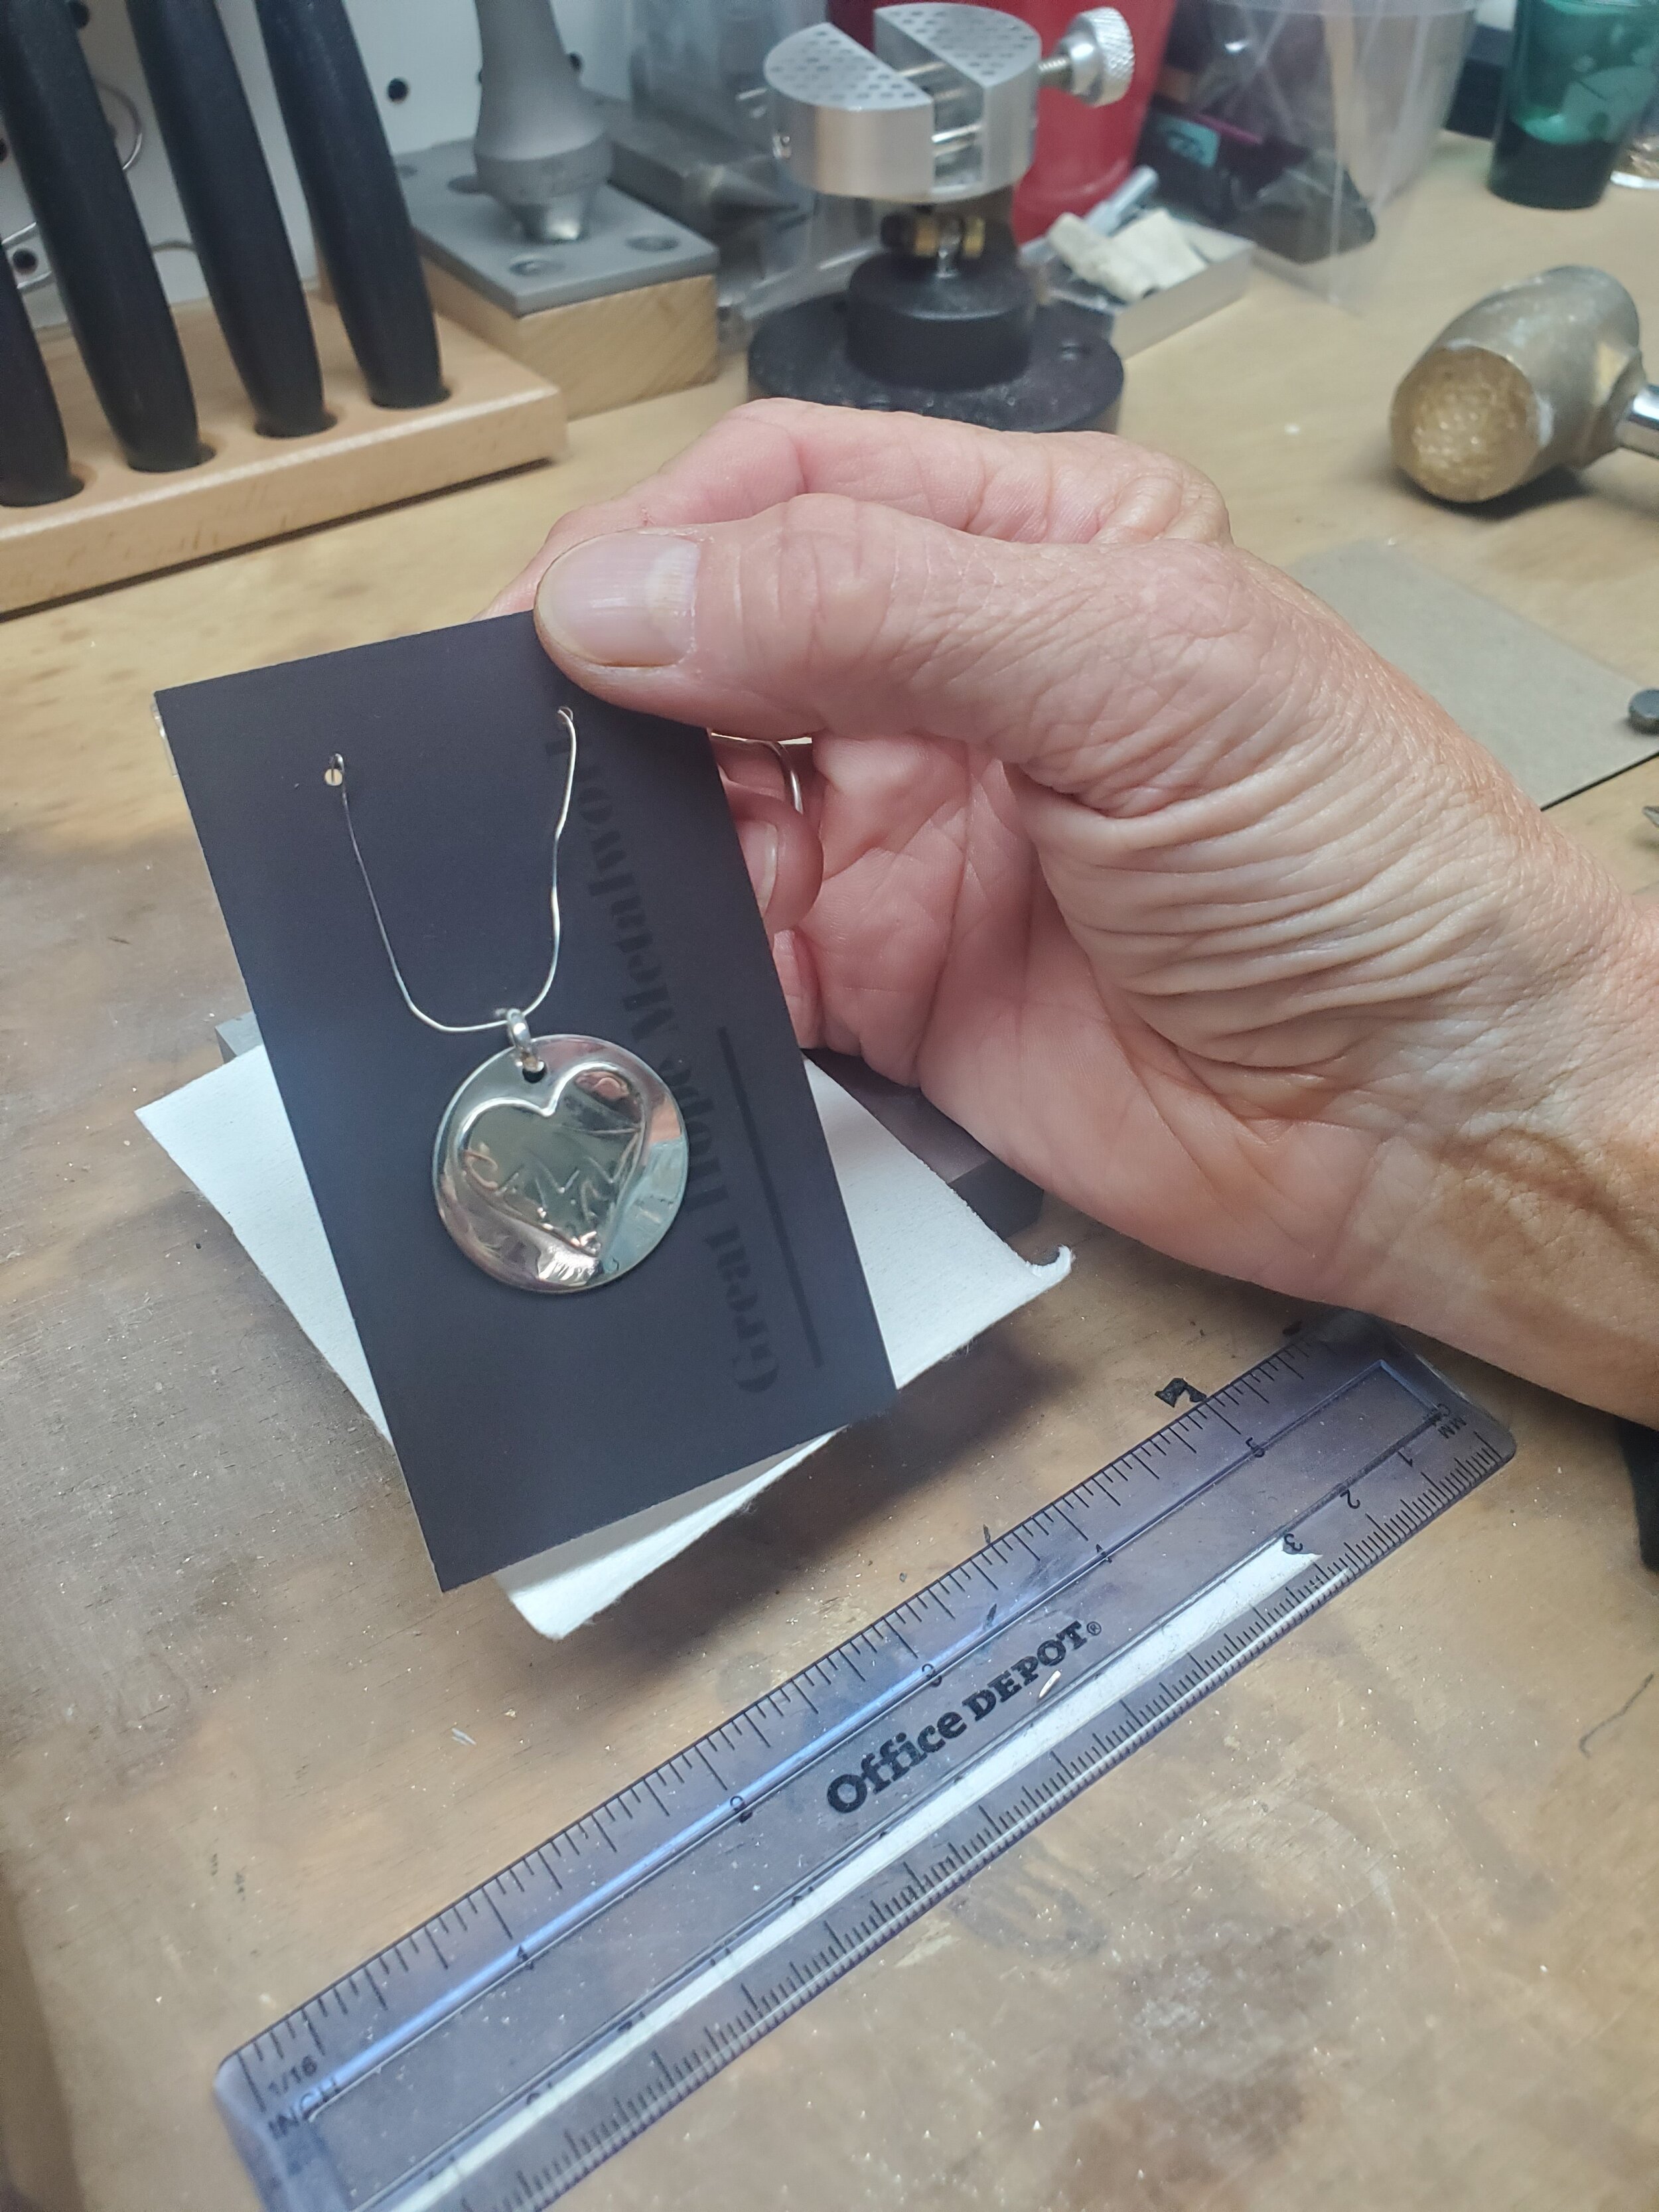
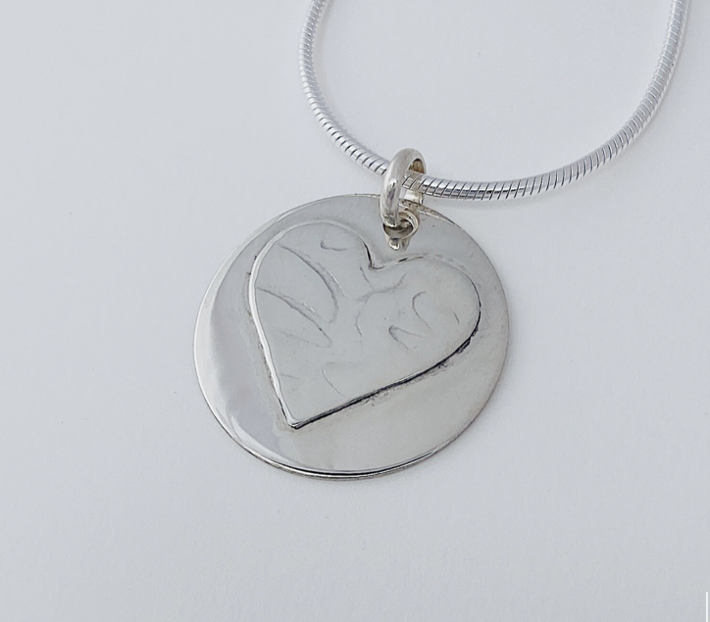
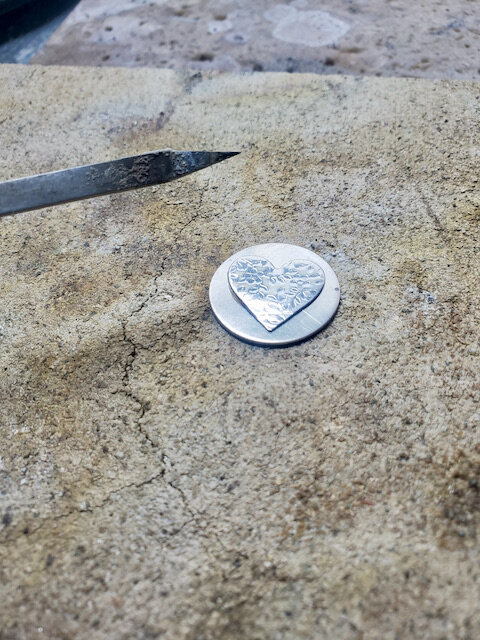
Whether you already have an idea of what you want to make or if you need some ideas, my first suggestion is to start with a super simple design. For this example we will use the first project we designed, which is a pendant that looks something like this:
Copper is the best metal for silversmith beginners to work on, but silver or brass are other great options.
Draw your design on some regular printer paper, and use a gluestick to glue it onto your metal. Don’t worry, the paper will peel off with a splash of water.
Start with a blank sheet of metal (copper or silver) – whose thickens we suggest to be around 20 gauge. Draw a simple design for your first time – sawing the thing out is harder than you might anticipate.
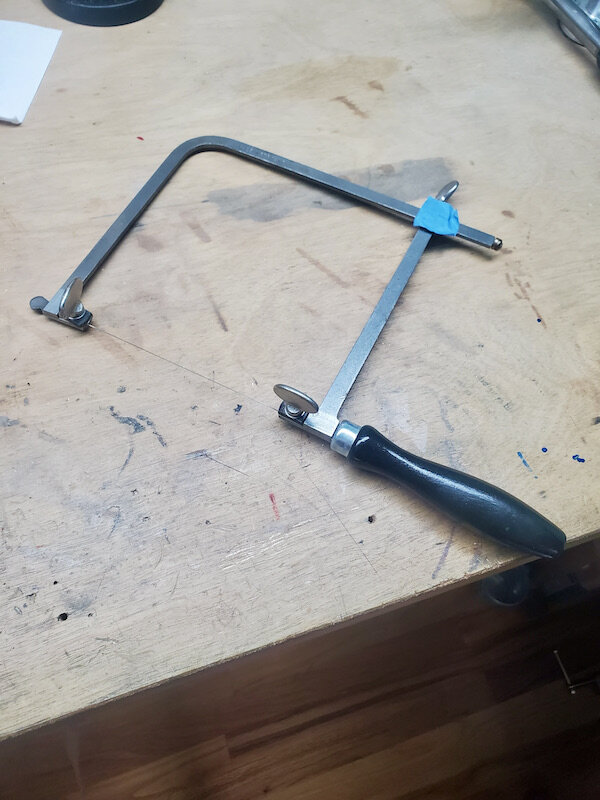
The Process of Sawing
My first time sawing out a design was a full on battle. The thing flew across the room more than once…..I recommend hanging on tight.
There are several different gauges of sawblades: anywhere from 8/0 to 8, with 8/0 being the finest, and 8 being the coarsest. If you don’t match the gauge to your metal….you will have problems. If the blade is too fine, you will be sawing for the rest of your life. If the blade is too course, the edges of your project will look like you dropped it in the garbage disposal.
Rio Grande has some great silversmithing beginner blades available here.

YOUR BLADE NEEDS LUBRICATION. There are several different products for this, like beeswax and BurLife. This is important because it ensures your blade glides smoothly along the metal, and keeps their longevity.

BurLife is available through RioGrande here.
When inserting your blade into the saw frame, make sure the teeth are facing DOWN. I messed this up more than a few times in the beginning, and can ensure you that it won’t cut anything if the blade is upside down. Tighten the top knob first and then secure the bottom, making the tension as tight as possible.
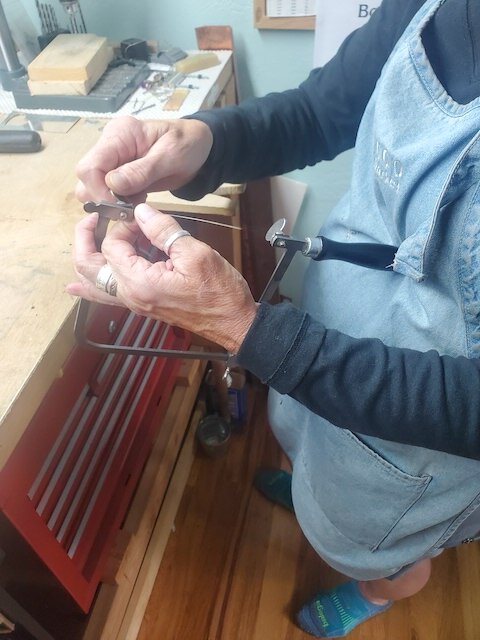
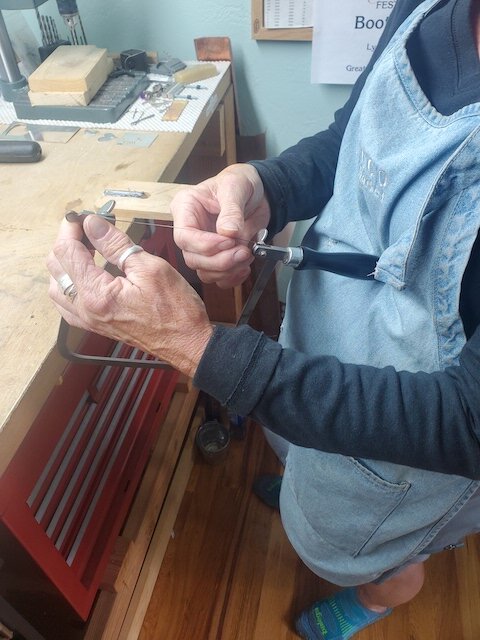
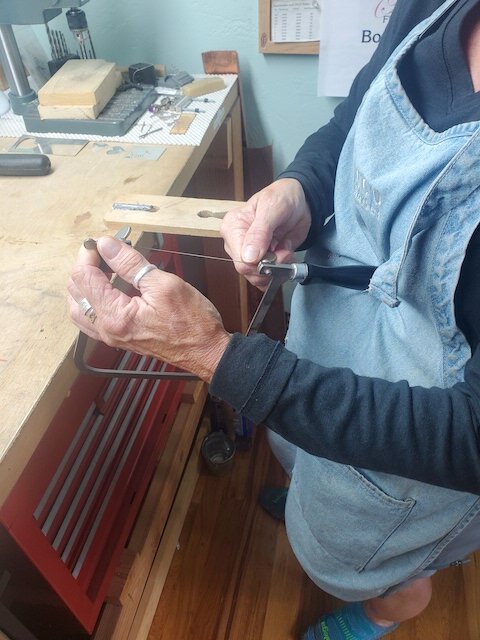
Now, onto the actual sawing:
1. First thing, grab a stool, you want it to be nearly level with your eyes.
2. The first stroke is the hardest, but once you get the first one down, just follow your glued on design line.
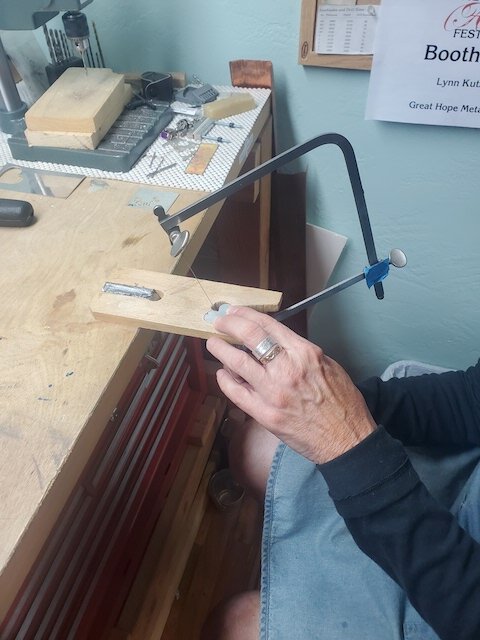
3. After your design is cut out, check the edges, and you will see saw marks, and its time to move onto your next step: filing.

Saw marks needing to be filed down.
We recommend viewing a few silversmithing for beginners video tutorials on YouTube before attempting anything too complicated. Some great sawing basic videos can be found here and here.
Filing Your Freshly Cut Design
There are several different types of files: find the one that speaks to you….or let me know when you find the best one.
The first rule of filing: NO AIR FILING
Brace both arms on your workstation and move the file in one direction only…..away from you.
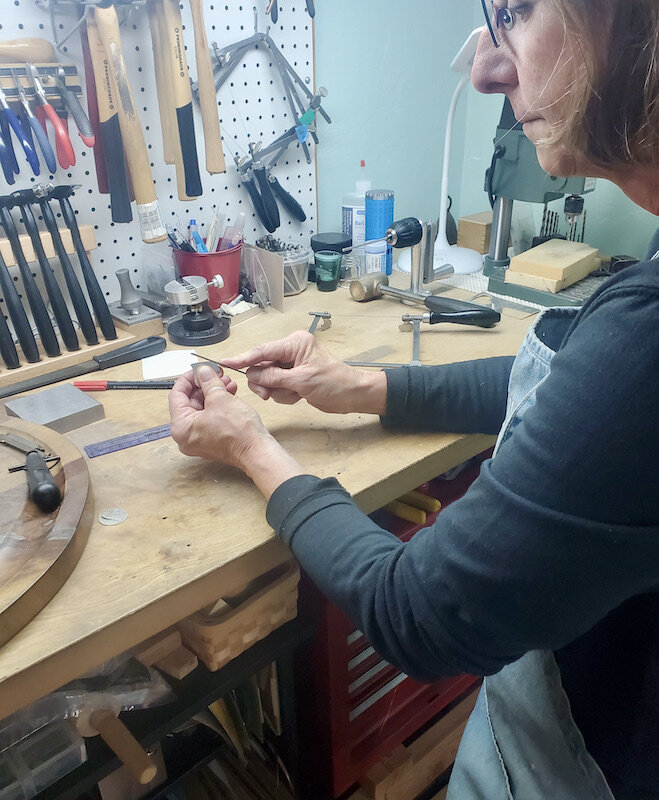
Keep at it until the saw marks are smooth, and then double check that your edges are not razor blades. If they are, give them some filing love too.
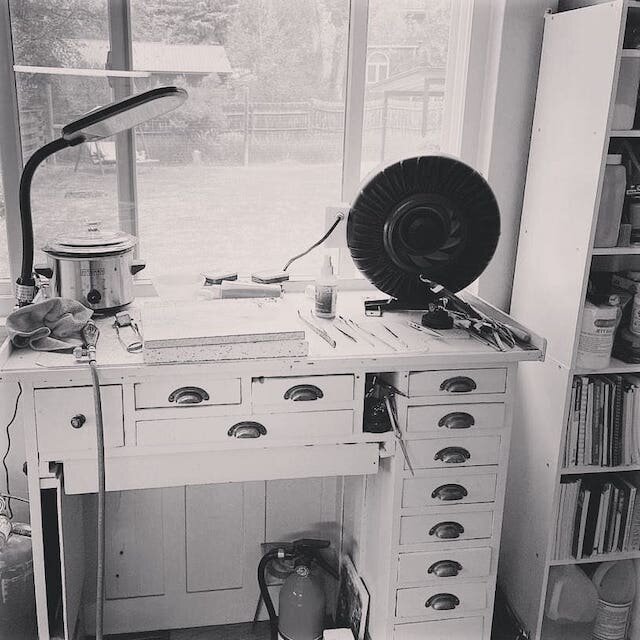
Soldering: The Most Fun Part of the Process
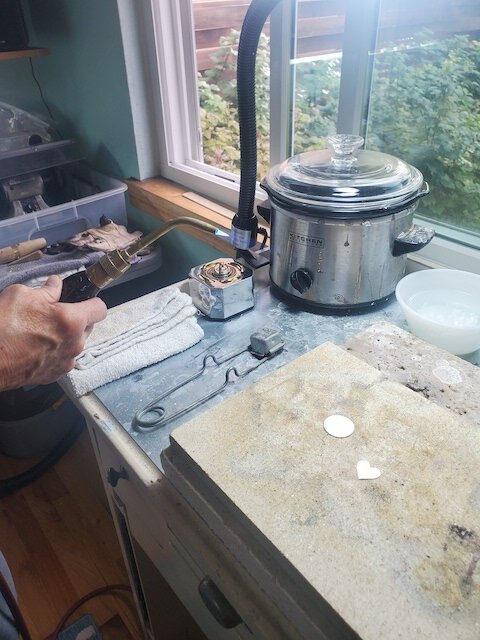
Before you begin, there are some things that you need to gather:
1. A pickle pot: an acid solution mixed with water, and heating it makes the solution more effective, hence the mini crock pot in the image below.
2. Flux: this protects the silver and helps the solder flow.
3. A torch
4. Clean water
5. Solder
6. Copper tongs
7. Clean rag
8. Solder board
9. Soldering pick
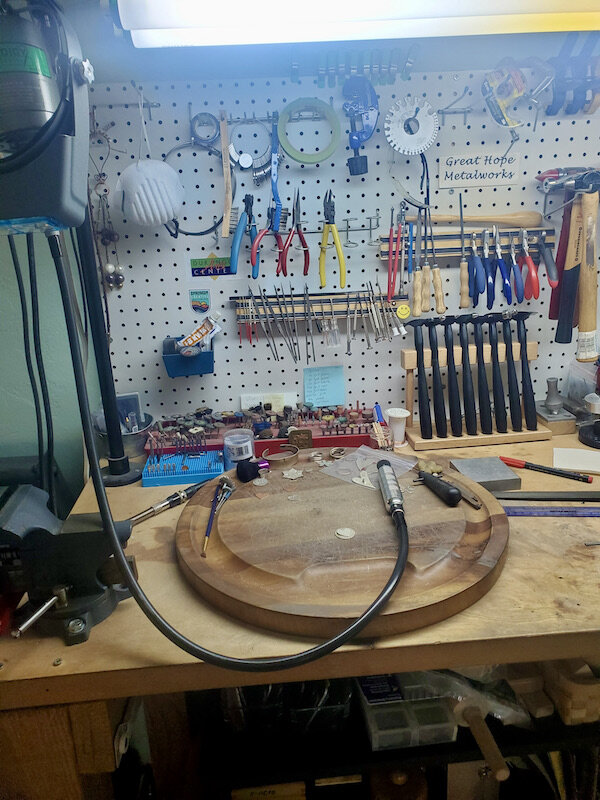
My soldering station looks like this:

You MUST have ventilation when soldering. Also: remember that nail polish is flammable, so you might want to remove it just in case.
Follow the next steps closely:
1. The metal must be super clean, so drop your pieces in your pickle pot for around a minute. Note: only use copper tongs to get pieces out of your pickle pot, other metals contaminate the solution and makes your precious project turn pink !
2. Next, once removed from the pickle pot, drop in some clean water, and then wipe it dry on a clean rag.
3. Place your pieces on your solder board and coat them on both sides with flux.
4. Take small chips of solder, and put them on the back of your design


5. Turn on your torch (not on full blast), and hold around three inches away from your design. Heat until the solder starts to “sweat.” You don’t want to blast the thing to death.
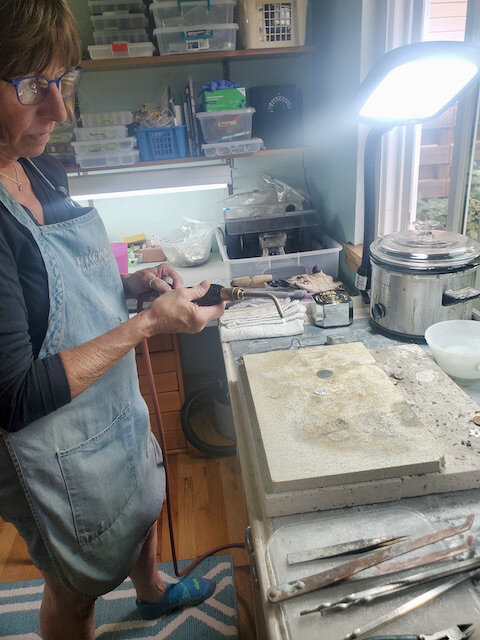
6. Flip the design over, and place it on the circle (the other half of your design).
7. Torch along the outside of the circle, keeping the flame moving the whole time. The heat of the metal will melt the solder.
8. Take your soldering pick and tap the design to make sure its secured to the base piece.
9. Let it cool for a minute, and then place it back into your pickle for about three minutes.
If you need to see this process in action, a great beginner soldering video can be found here.
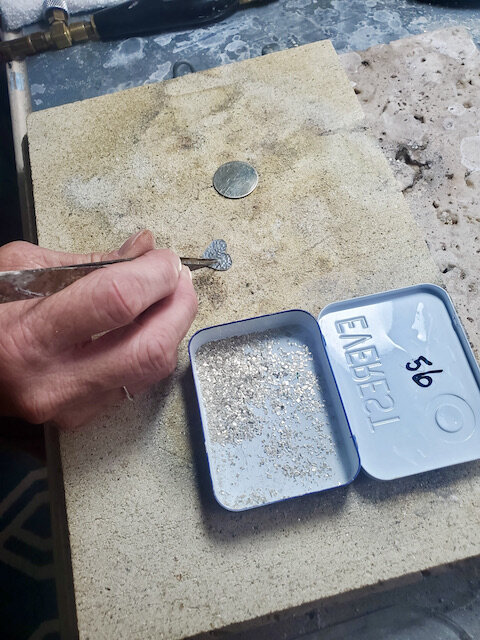
Finishing Your Project: The Final Piece
For the final step, you need a few other items:
A flex shaft: you can buy wheels with various grits for clean up and a finishing polish.
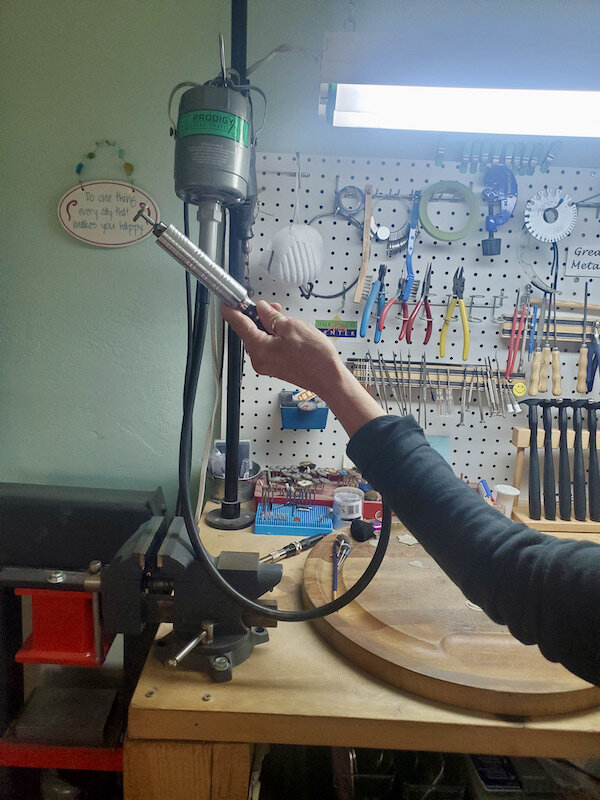
Rio Grande supplies a great flex shaft, which you can find here. There are absolutely some less expensive options if you shop around.
Different projects, depending on what you are making, will require different wheel grits. This step is completely up to you – some wheels give a shiny finish, while others give a brushed appearance. Experiment with all of them!
All of this information might seem intimidating, and may take some patience and monetary investment. This craft has brought nothing but joy to my life, and I hope this helps you understand how silversmithing beginners start out. Good luck! If you have any questions, feel free to message me and I will be happy to help! Contact me here.